Homebrew on macOS: A Beginner's Guide to Package Management
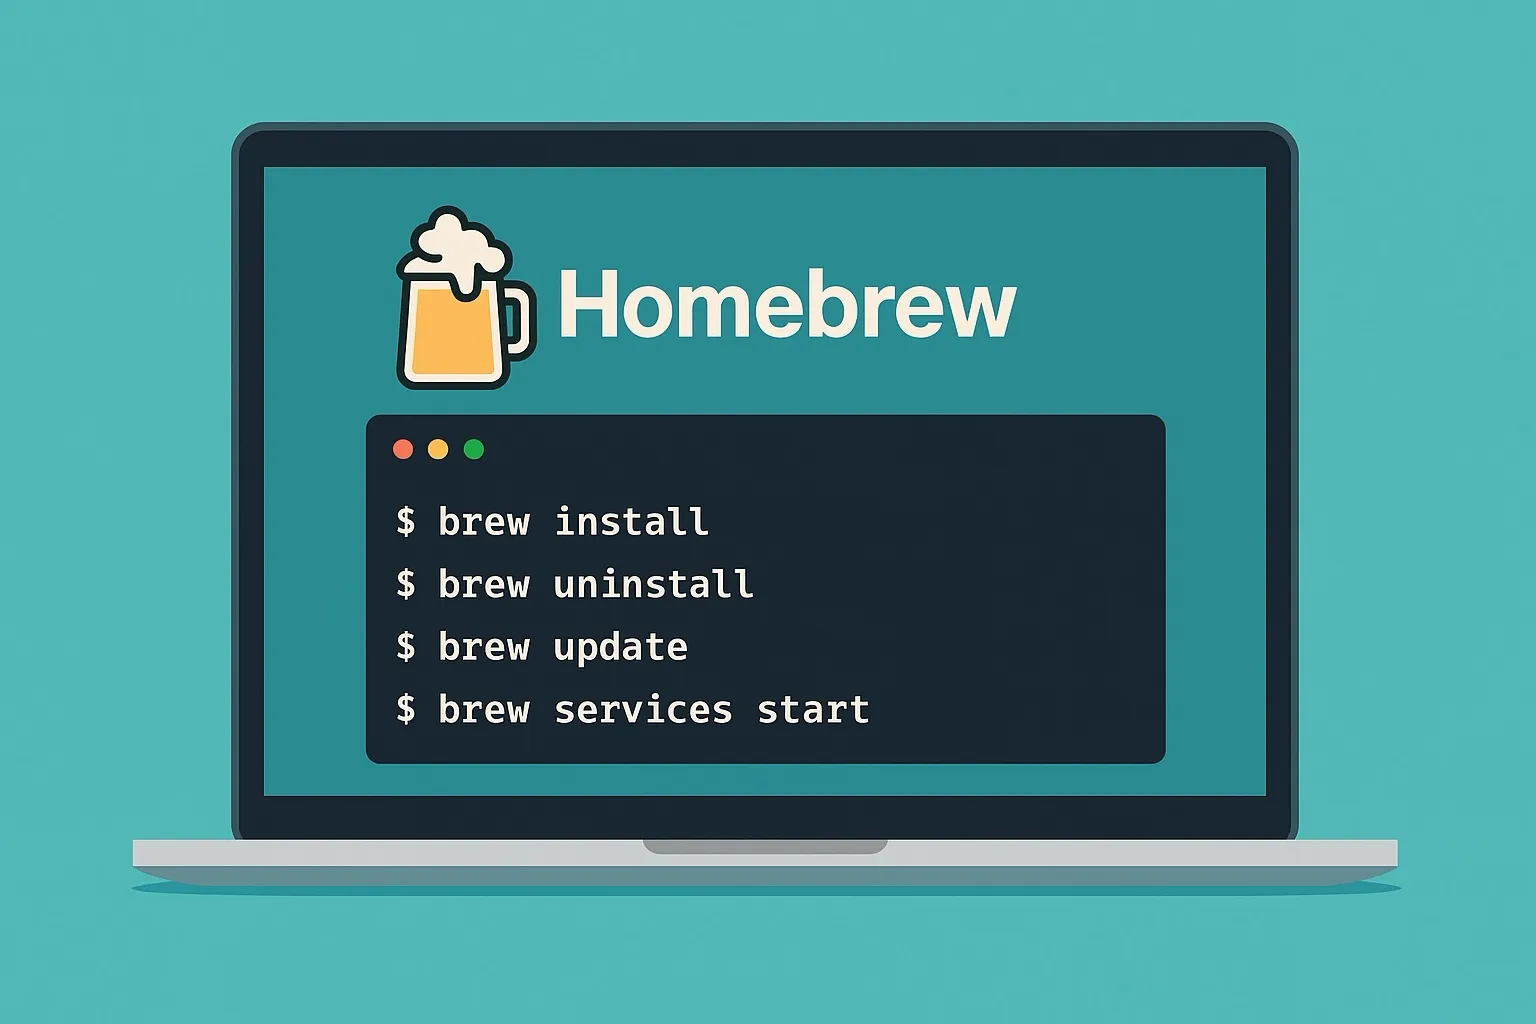
Homebrew is the most popular package manager for macOS. With a single command you can install, update, or remove software — no more downloading DMG files or wrestling with manual setup. It also manages system services so apps can launch automatically at boot. Combined with command examples from ChatGPT, Gemini, and other LLMs, Homebrew makes software management on iMac, Mac mini, and MacBook dramatically simpler and more efficient.
Installing Homebrew
Homebrew is installed with a single command. Open Terminal on your Mac and paste the command below — it will install automatically. You can also copy the “Install Homebrew” command from the official site at https://brew.sh.
# Install Homebrew
/bin/bash -c \
"$(curl -fsSL https://raw.githubusercontent.com/Homebrew/install/HEAD/install.sh)"
After installation, run brew --version — if you see a version number, you’re good to go.
Homebrew Basics
Installing Packages (Formulae)
Homebrew’s main job is installing command-line tools and libraries. For example, to install OpenJDK:
# Install the latest Java
brew install openjdk

# Install Java 17
brew install openjdk@17

# Install Java 21
brew install openjdk@21

# Reinstall
brew reinstall openjdk

# Install multiple packages at once
brew install openjdk gradle
Most software is ready to use immediately after installation, but some require you to add their binary to your PATH. For example, after installing openjdk@17 you’ll see a message like this:
echo 'export PATH="/opt/homebrew/opt/openjdk@17/bin:$PATH"' >> ~/.zshrcThis is because openjdk@17 is marked as keg-only. Homebrew typically flags packages this way when multiple versions can coexist — it handles installs and updates, but if you want typing java to launch this specific version, you have to add it to your PATH yourself. Copy the echo ... >> ~/.zshrc line into Terminal and press Enter, or invoke the binary by its full path instead.
Viewing the Install Message Again
Homebrew prints usage notes at the end of each install. To see them again later, run brew info <package> — for example, brew info openjdk.
Binding Versions with brew link
As mentioned, some packages are flagged keg-only and can’t be invoked by name directly after installation. brew link solves this. Take MySQL Client as an example:
# Install MySQL Client
brew install mysql-client
After installation, running mysql fails with zsh: command not found: mysql — you have to use the full path /opt/homebrew/opt/mysql-client/bin/mysql.
Instead of manually editing PATH, use brew link:
# Normal link — fails on keg-only packages
brew link mysql-client

# Force link — safe if no other mysql exists on your system
brew link --force mysql-client

# After linking, mysql works directly
mysql -h example.com -u root -p

# Unlink
brew unlink mysql-client
You can use the same trick to set openjdk@17, openjdk@21, or any other version as your default Java on the terminal.
Installing GUI Apps (Casks)
Cask is Homebrew’s extension for installing macOS GUI apps — Chrome, Visual Studio Code, Slack, and so on. It automatically downloads .dmg or .pkg files and installs them to /Applications.
# Install Chrome
brew install --cask google-chrome

# Install Visual Studio Code
brew install --cask visual-studio-code
Installed apps appear in Launchpad and in Finder’s Applications folder, ready to launch.
Searching for Packages
You can search for packages directly from the terminal. For example, to find docker:
# Search for docker
brew search docker
You’ll see results from both Formulae and Casks. You can also search on https://brew.sh in your browser, or just Google it — searching brew chrome usually surfaces https://formulae.brew.sh/cask/google-chrome as the top result.
Managing Installed Packages
Updating Packages
Beyond installing and removing, Homebrew can update packages too:
# Update Homebrew itself and check what's out of date
brew update

# List outdated packages
brew outdated

# Upgrade everything
brew upgrade

# Upgrade a specific package — e.g. Java 17 isn't the latest Java, but it still gets security updates
brew upgrade openjdk@17

# Upgrade multiple packages at once
brew upgrade openjdk gradle
Listing and Uninstalling
You can list everything installed via Homebrew, and remove things with brew uninstall:
# List installed Formulae and Casks
brew list

# Uninstall
brew uninstall <package-name>

# Uninstall examples
brew uninstall openjdk
brew uninstall mysql-client
brew uninstall google-chrome
Health Check
Homebrew provides brew doctor, which runs a health check on your installation and flags potential problems. It’s particularly useful after a failed package install or after a macOS upgrade — it’ll catch broken PATH entries, leftover old packages, or permission errors.
# Run a health check
brew doctor
Cleaning Up Old Data
When you upgrade a package, Homebrew doesn’t delete the old version immediately — it keeps it in the Cellar. This way you can switch back if the new version has problems. Homebrew also caches downloaded tarballs in ~/Library/Caches/Homebrew/.
# Clean up old versions and cached downloads for all packages
brew cleanup

# Clean up only a specific package
brew cleanup <package-name>

# Dry run — show what would be deleted without deleting
brew cleanup -n

# Check how much space you could free
brew cleanup -s
Sometimes you’ll see a warning like:
Warning: Skipping ffmpeg: most recent version 8.0_1 not installed
This means the installed version of ffmpeg isn’t the latest, so the old version can’t be cleaned up yet. brew outdated shows the gap:
ffmpeg (7.1.1_3) < 8.0_1
Running brew upgrade or brew upgrade ffmpeg fixes it. As a side note, packages like ffmpeg pull in many dependencies — Homebrew installs and updates them all automatically. But when you uninstall ffmpeg, those dependencies stay behind. Use brew autoremove to clean up packages that are no longer depended on.
Other Useful Commands
# Get the default prefix path
brew --prefix

# Get the path of a specific package
brew --prefix <package-name>
brew --prefix python  # example

# List outdated packages
brew outdated

# Remove packages no longer needed as dependencies
brew autoremove
System Services
Homebrew can register installed packages as system services, so they start automatically when macOS boots — similar to Services on Windows or systemd on Linux.
Take Ollama (used to run local large language models) as an example. After installation, you normally have to run ollama serve manually in Terminal to start its background process. Register it as a system service, and it launches automatically at boot — no manual step required.
# Start a service
brew services start ollama

# Stop a service
brew services stop ollama

# Restart a service
brew services restart ollama

# List service statuses
brew services list